CAD Tracing
CAD Tracing allows you to convert the Layers or Element Types of the imported DWG into Revit elements, such as Legend or Drafting View.
Core Features
- Convert DWG elements in Revit Elements.
- Filter by Layers or Element Types.
- Create Legend or Drafting view.
- Export/Import CAD mapping.
Table of contents
CAD Link
This first drop-down list shows the list of DWGs imported into the project.
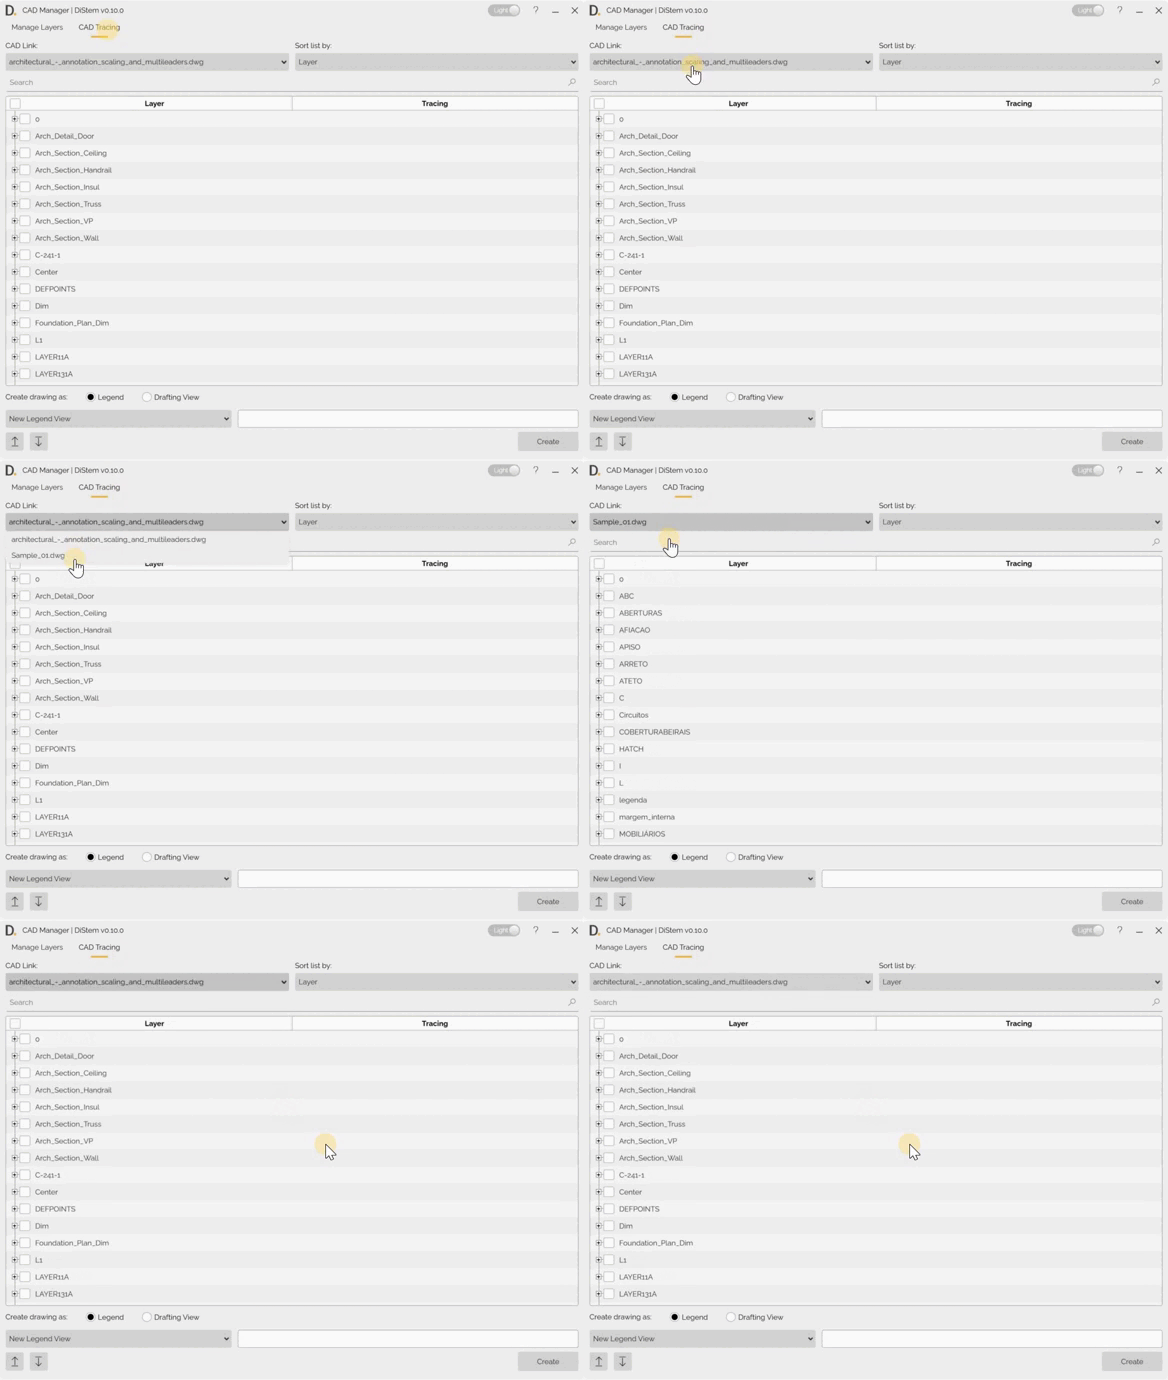
Note: the version on the image may not reflect the latest version of the application.
# Note:
When creating the view, make sure you have selected the layers you want to create. If no layers are selected, the views will be created blank.
Sort list by
In the second drop-down list, choose whether you want to filter the elements in the DWG file by Layers or Element types.
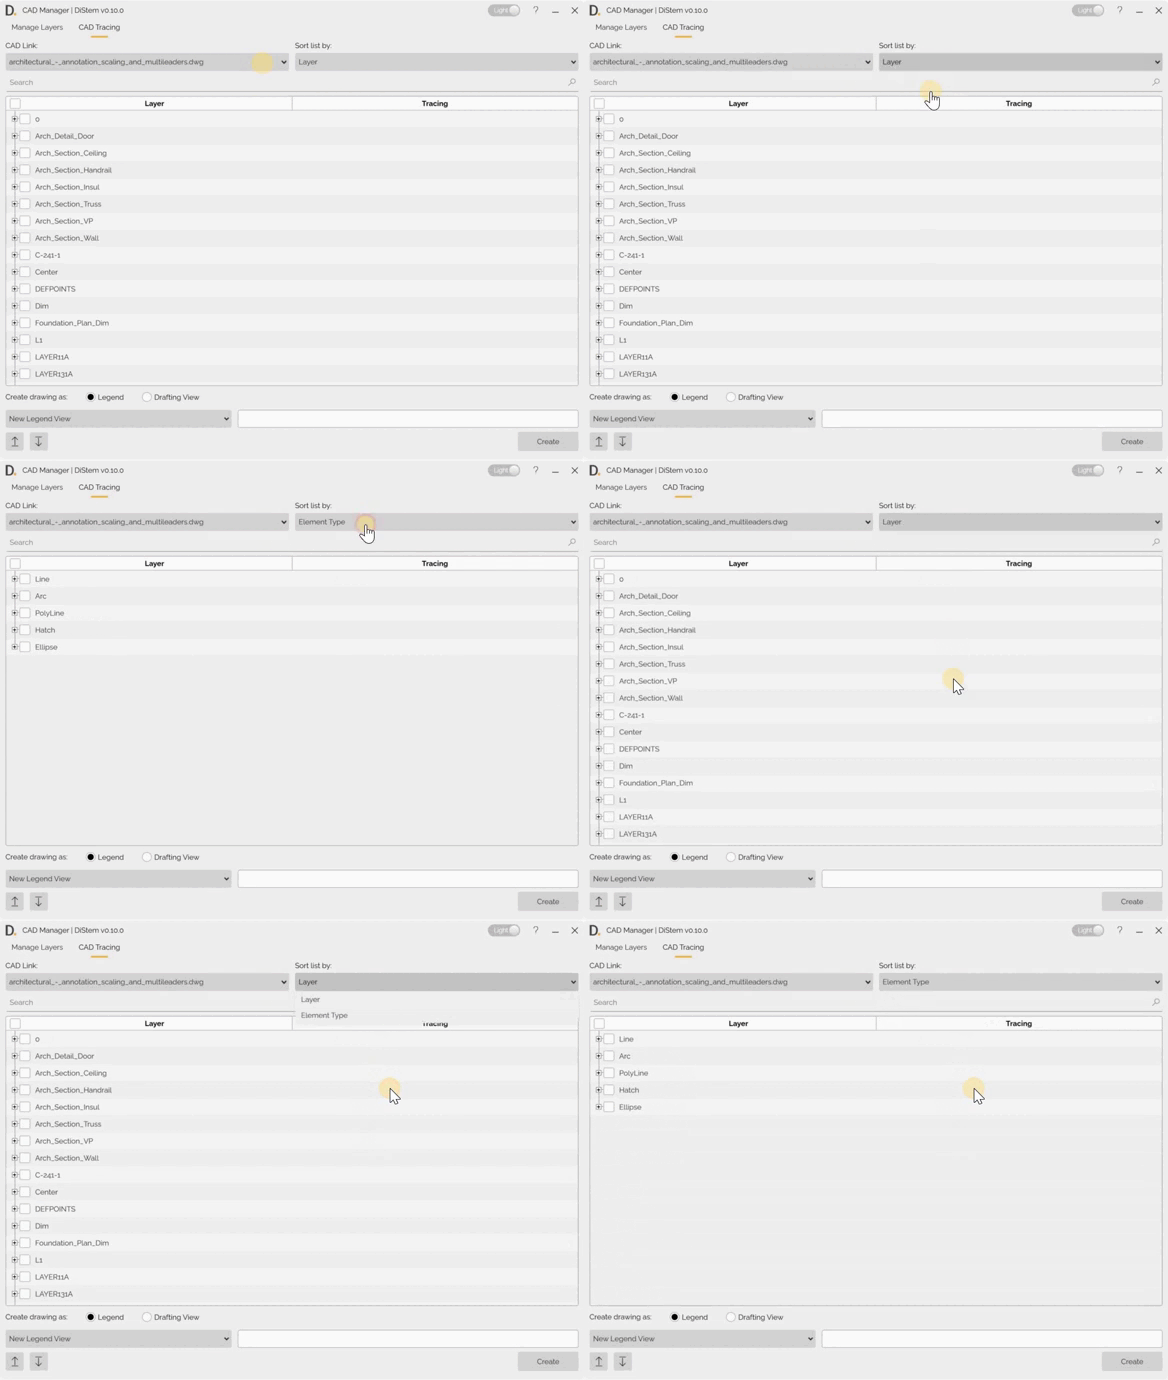
Note: the version on the image may not reflect the latest version of the application.
Tracing
The table below lists all the layers in the selected DWG. Expand the desired layer and, in the second column (tracing), use the drop-down list to choose the type of Revit element you want to convert.
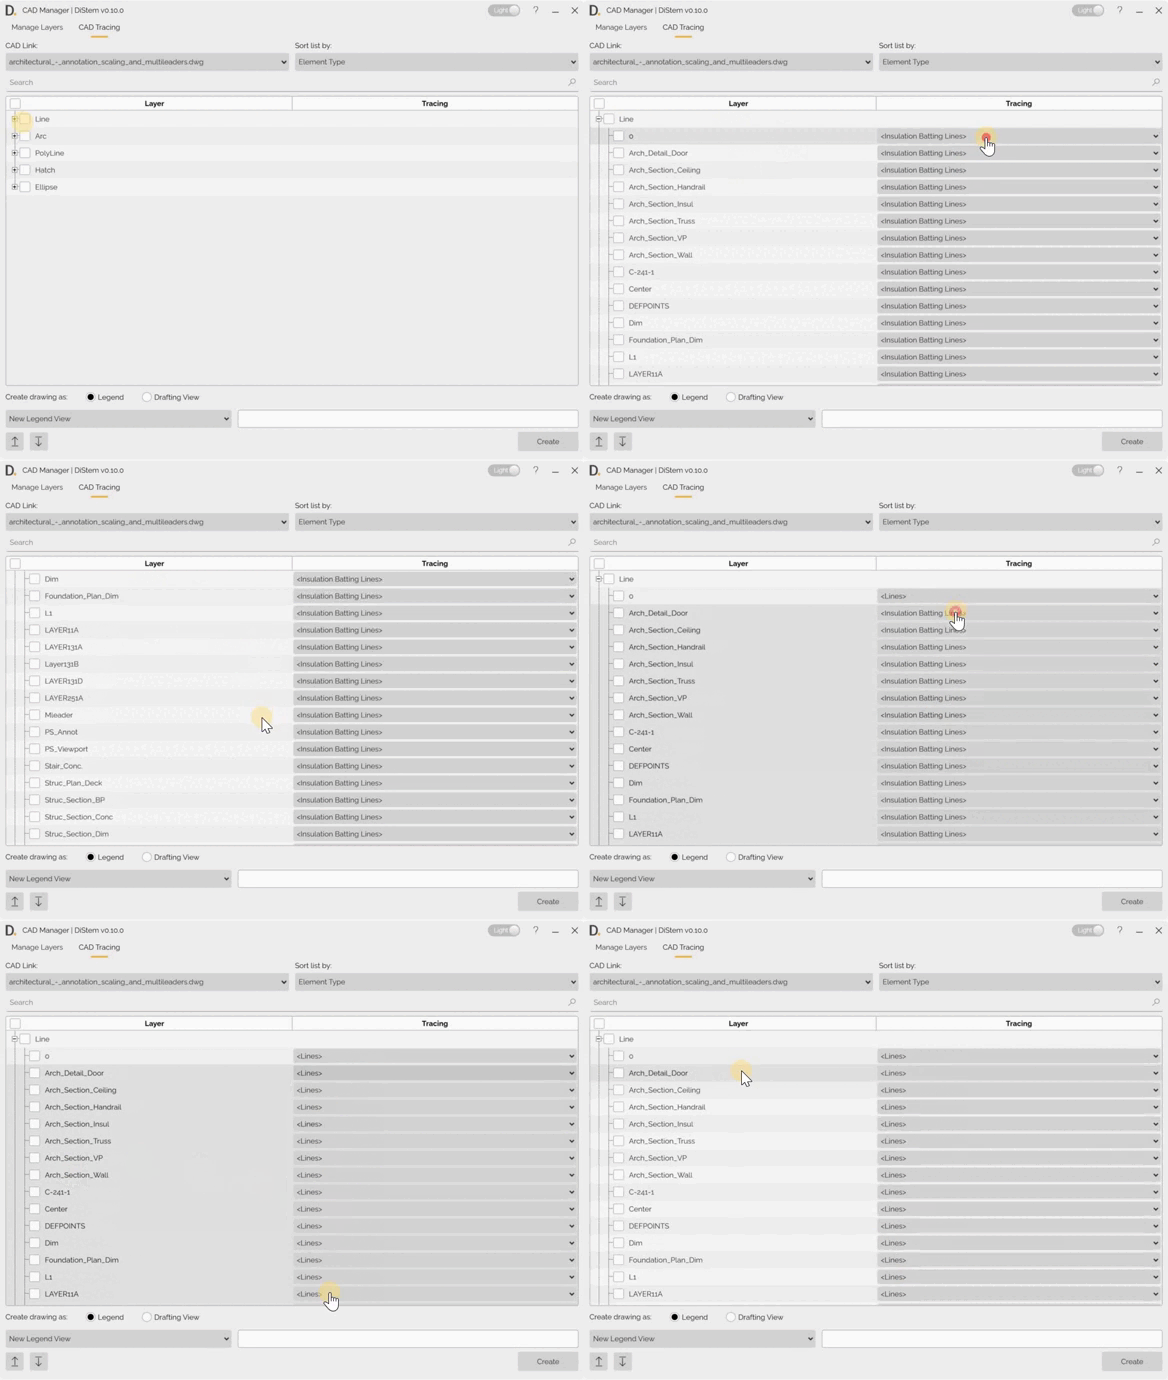
Note: the version on the image may not reflect the latest version of the application.
Search Layers
Use the searchbox to search by specifc layers.
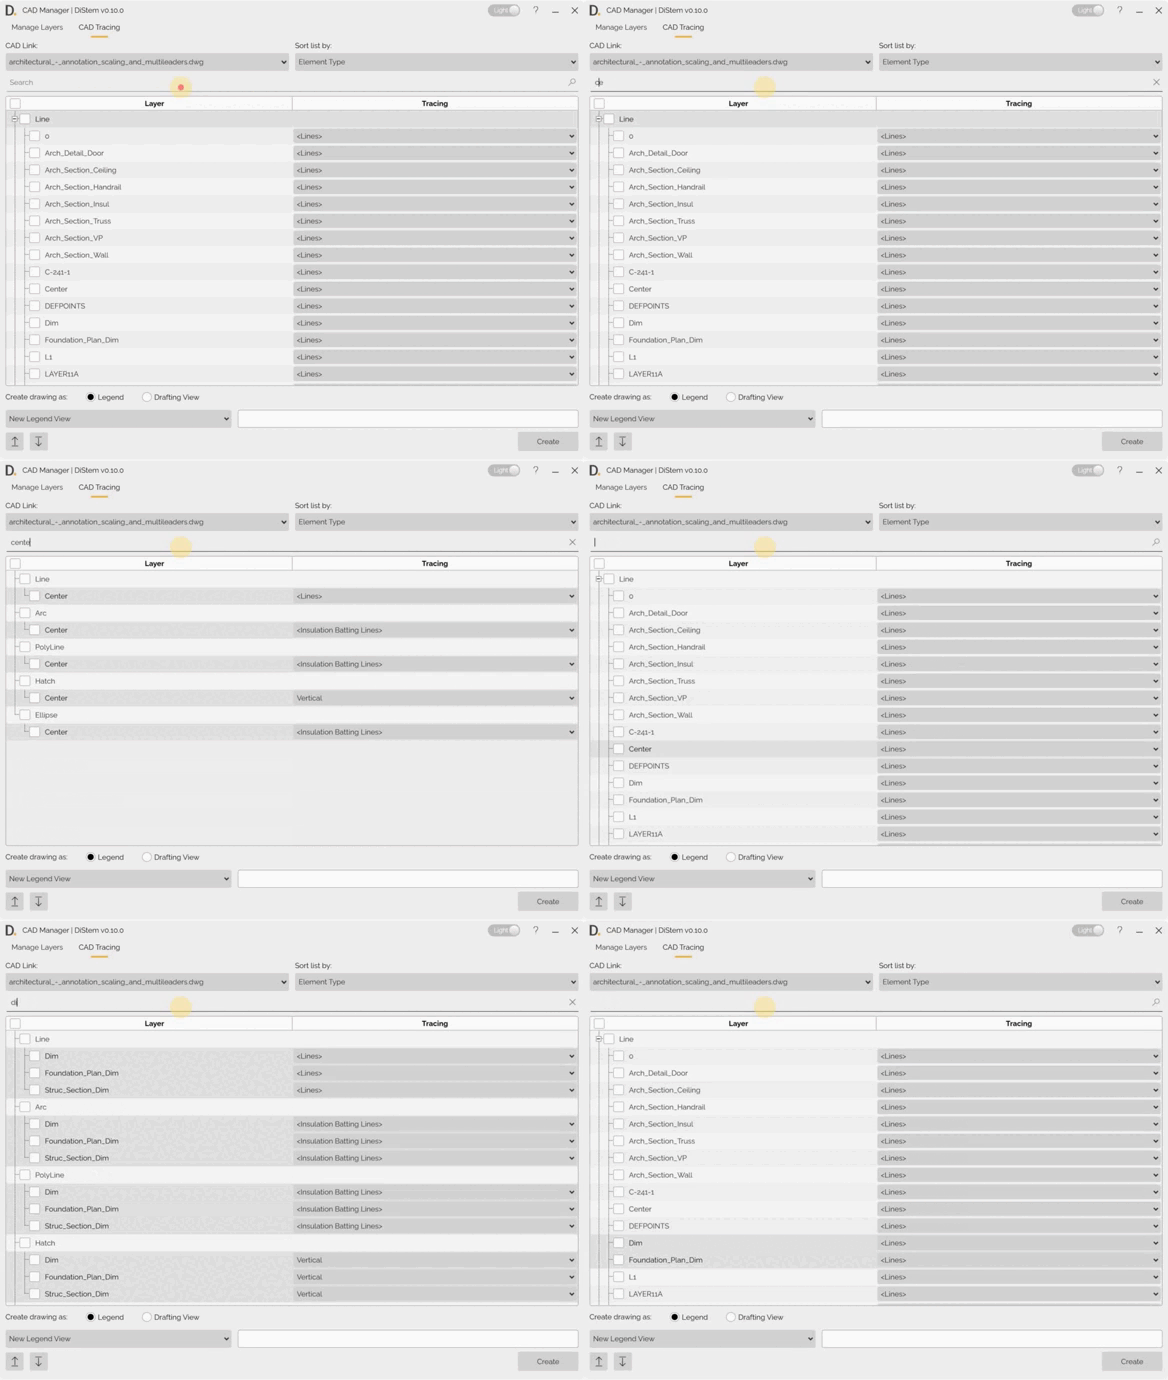
Note: the version on the image may not reflect the latest version of the application.
Right-click
Use the shortcuts with the right mouse click.
- Expand all Layers
- Collapse all layers
- Hide Unchecked layers
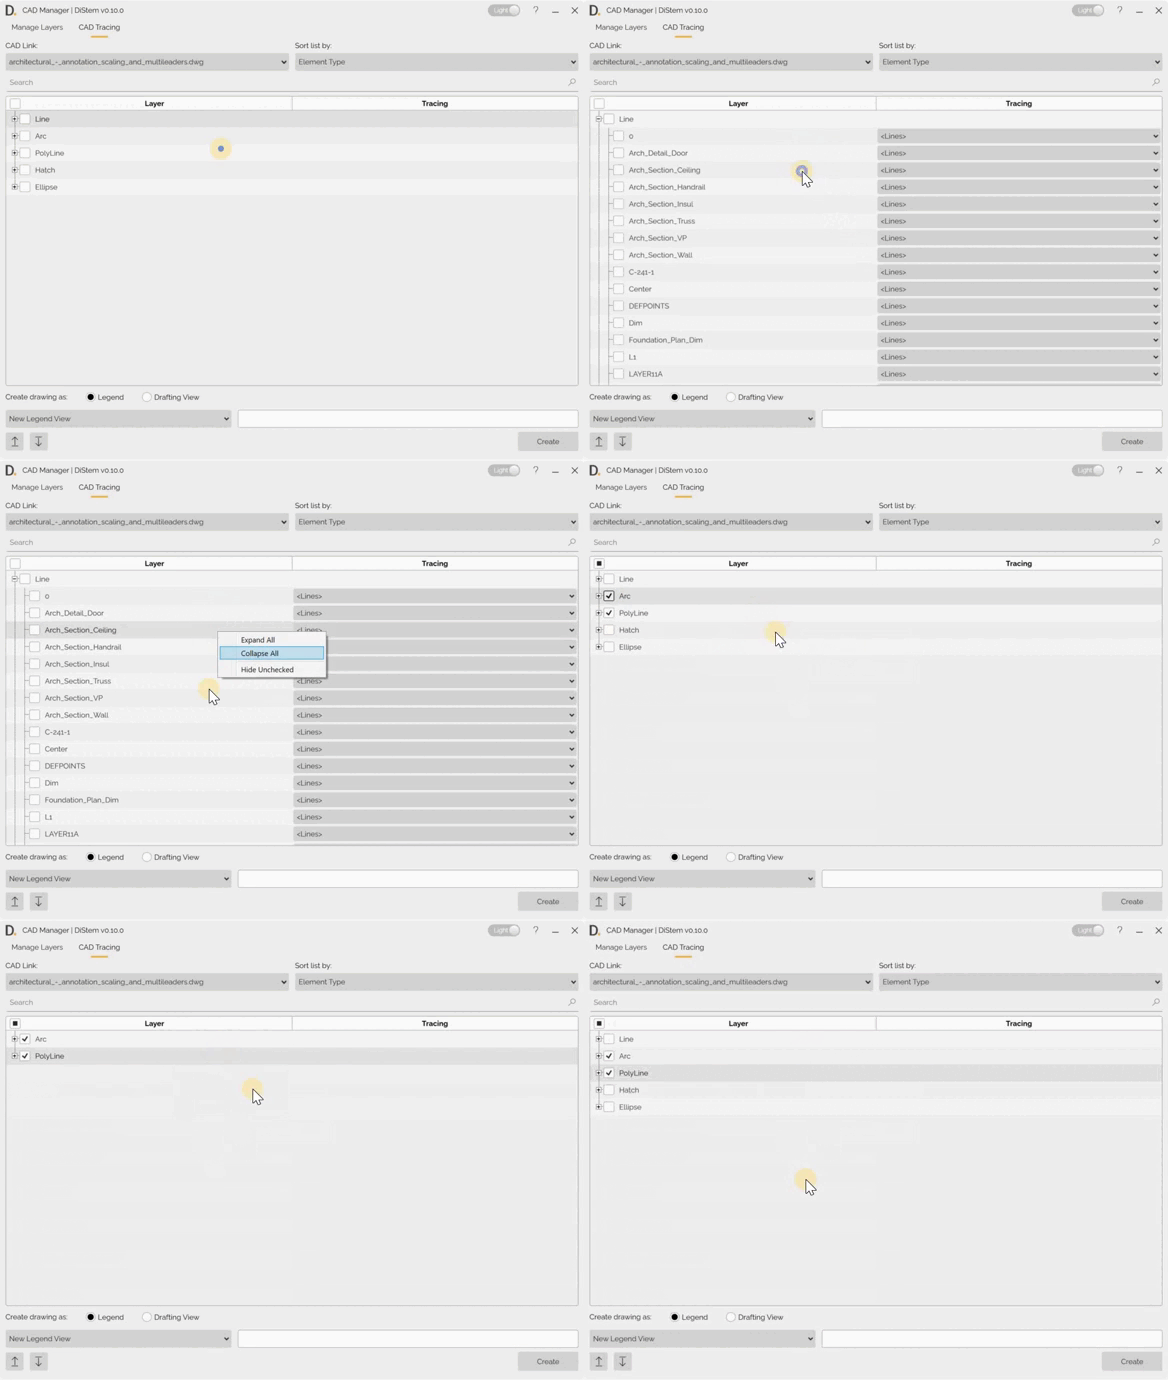
Note: the version on the image may not reflect the latest version of the application.
Creating views
Finally, to complete the mapping, let’s create a new view.
-
Choose the type of view you want to create, either Legend or Drafting View. Use the radio button to choose the type of view.
-
The next step is to choose whether you want to create a new view or overlay an existing one.
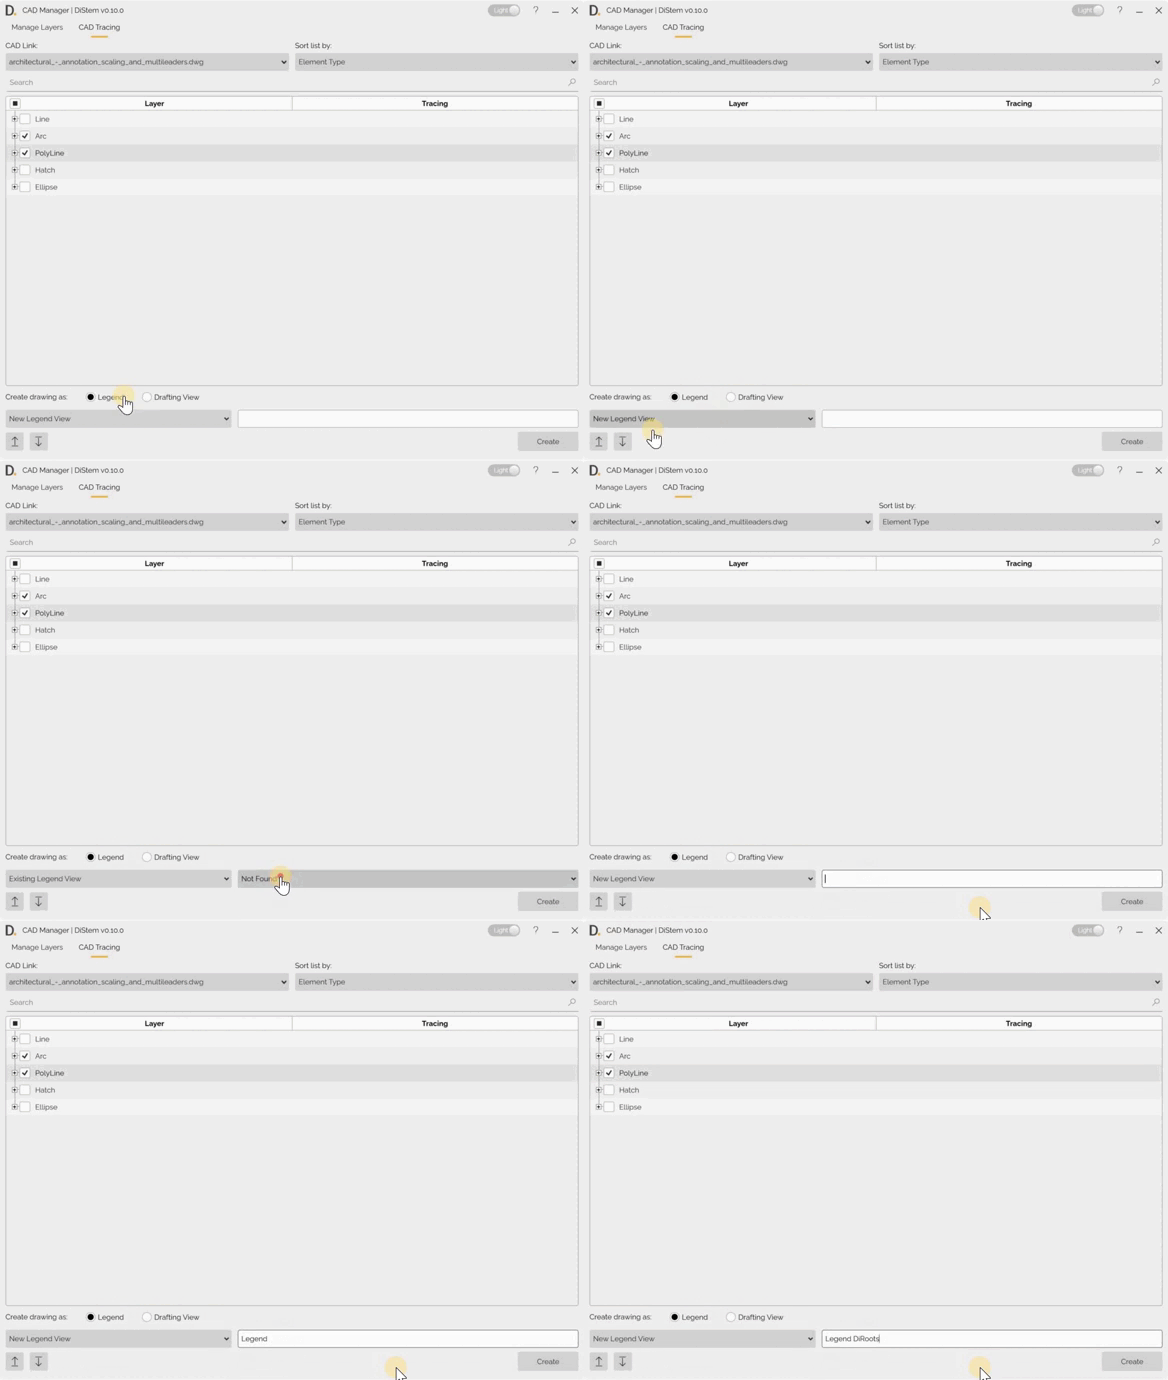
Note: the version on the image may not reflect the latest version of the application.
# Note:
- If the user chooses to create a new view, they must enter a name for the view in the field below.
- If the user chooses to overlay an existing view, they must select the view they want to overlay.
Create
Select the layers and click on the “Create” button to execute the mapping and create the view as selected.
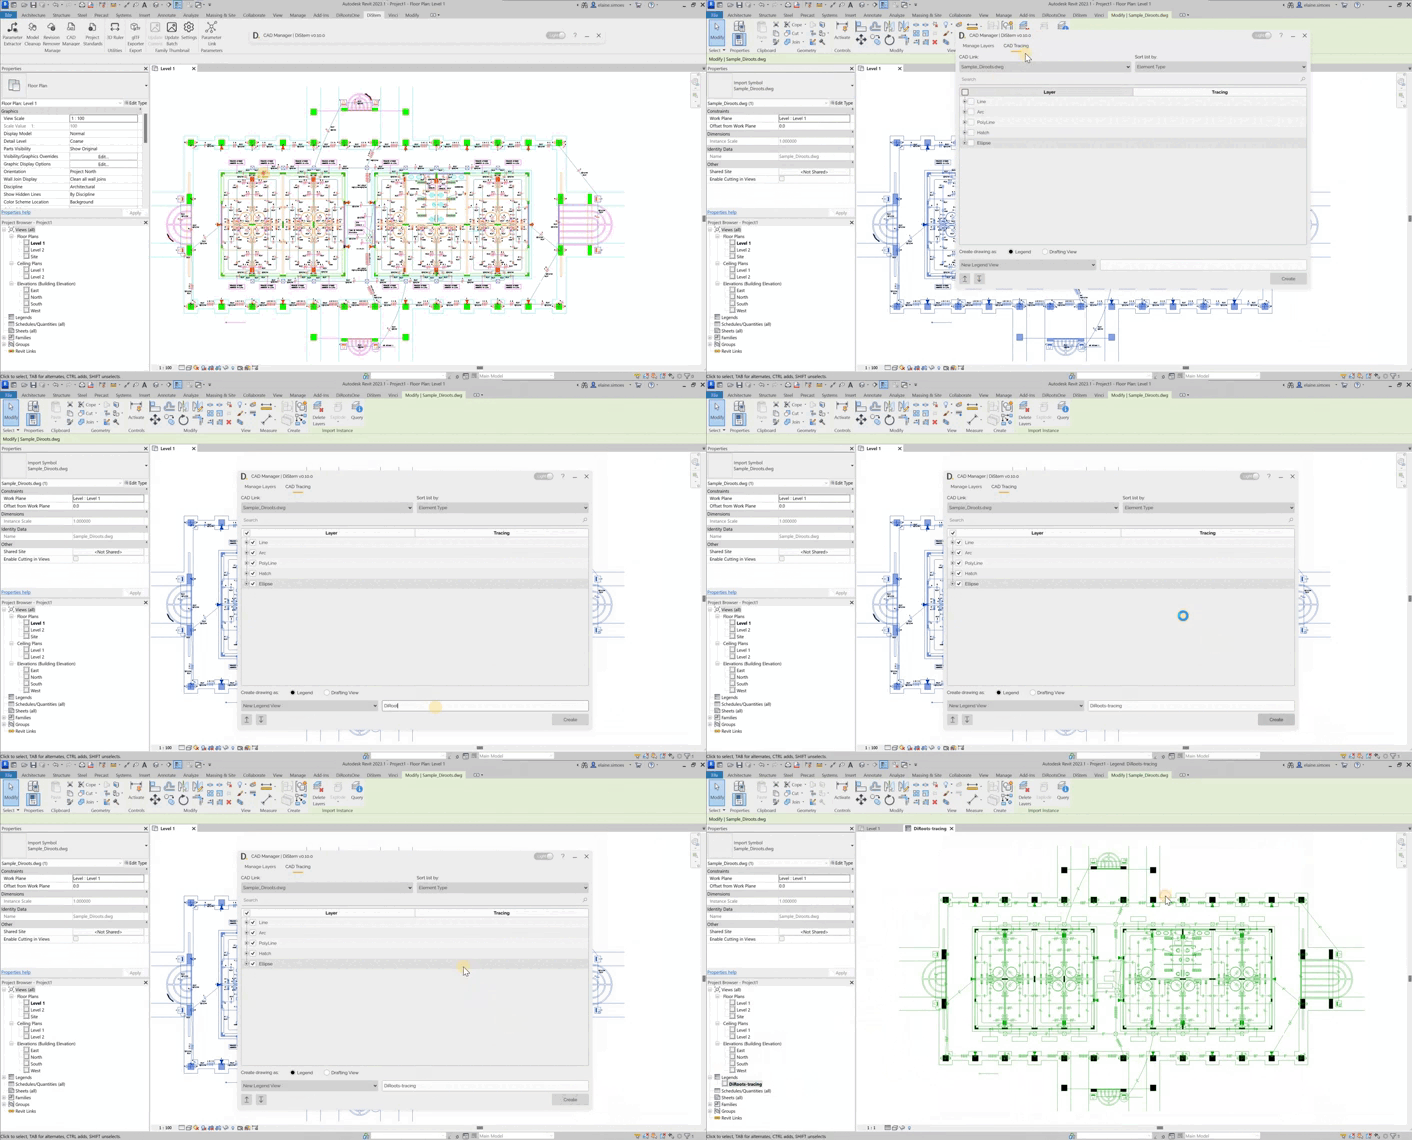
Note: the version on the image may not reflect the latest version of the application.
# Note:
When creating the view, make sure you have selected the layers you want to create. If no layers are selected, the views will be created blank.
Export/Import CAD Mapping
Once you have configured the DWG layers/elements types to map in Revit, export a file that can be shared with your team or used in other projects.
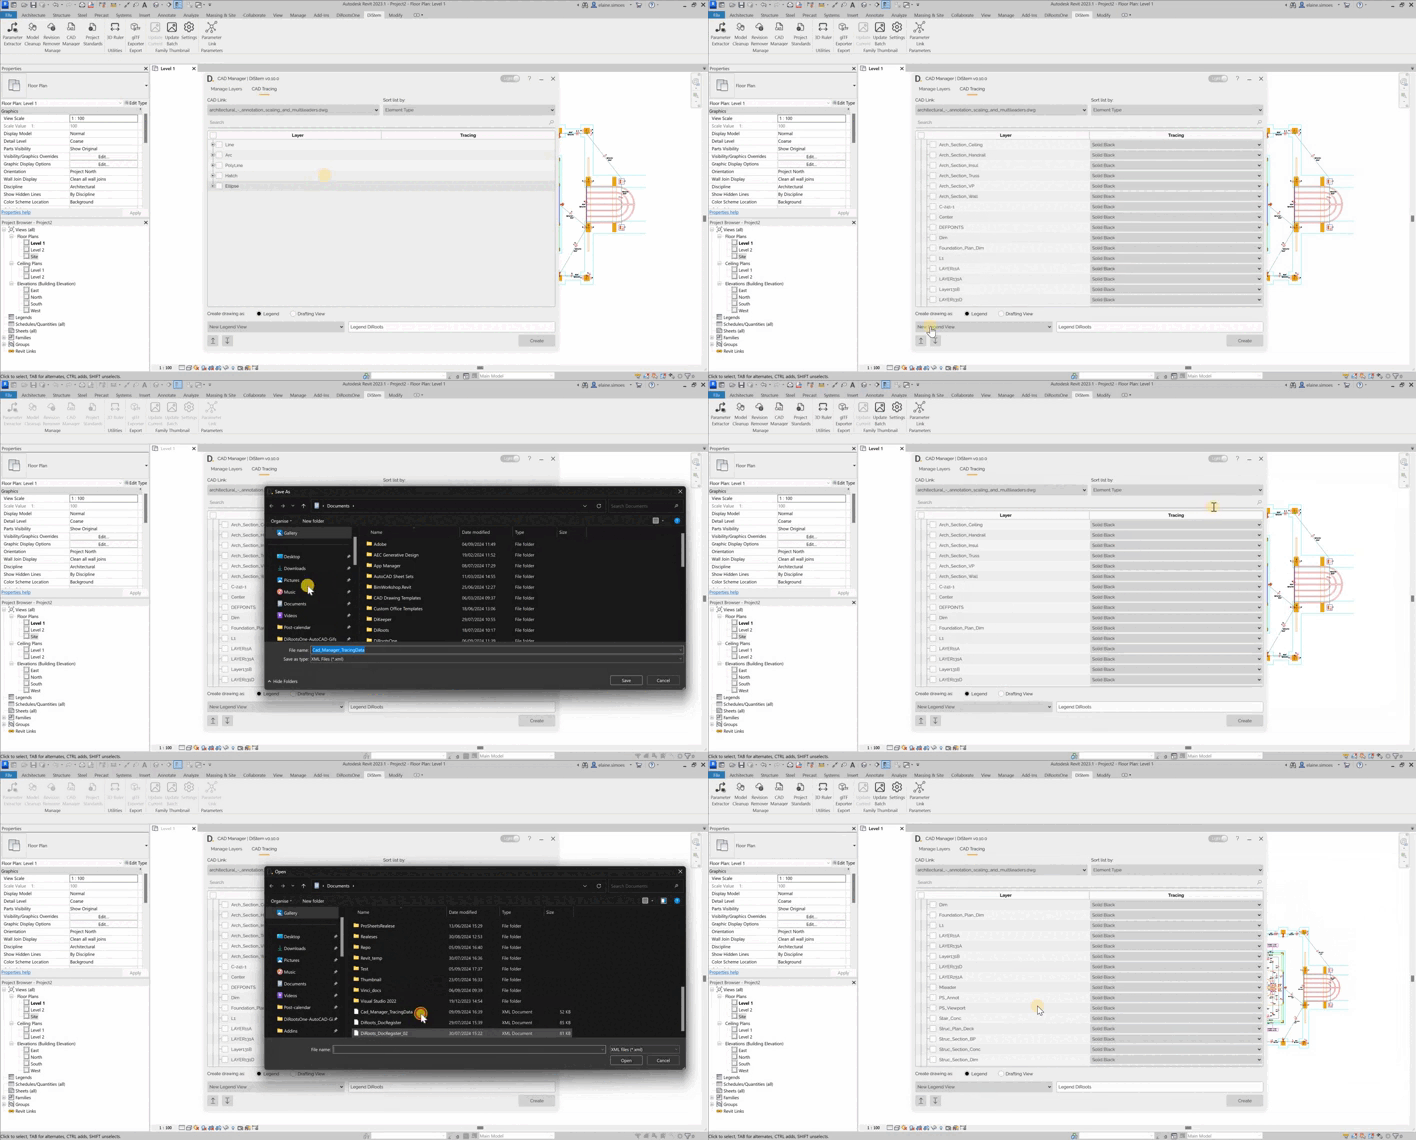
Note: the version on the image may not reflect the latest version of the application.
If you want to find out more about CAD Manager and explore detailed tutorials on how to use it, visit our YouTube channel. There, you’ll find a series of videos that can help answer questions and improve your knowledge. Be sure to check it out and subscribe to keep up to date with our news and tips!